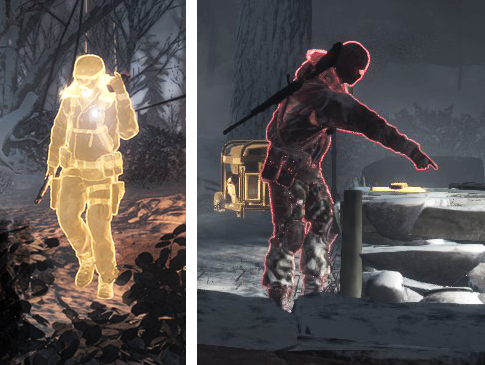
Rise of the Tomb Raider™: 20 Year Celebration - manual

Rise of the Tomb Raider: 20 Year CelebrationManual

Enter
x

Navigating this manual

Welcome to the Rise of the Tomb Raider™: 20 Year Celebration web manual.

You can use the Contents menu on the left to skip directly to the section you're looking for. Alternatively, click the Enter button to access the manual, and use the Next and Previous buttons to navigate page by page.

Can't find what you're looking for? There's even more information in the FAQs and ReadMe: you can view them using the buttons at the top of the screen.

Warnings & Ratings

Important Health Warning About Playing Video Games

Photosensitive Seizures

A very small percentage of people may experience a seizure when exposed to certain visual images, including flashing lights or patterns that may appear in video games. Even people who have no history of seizures or epilepsy may have an undiagnosed condition that can cause these “photosensitive epileptic seizures” while watching video games.

These seizures may have a variety of symptoms, including lightheadedness, altered vision, eye or face twitching, jerking or shaking of arms or legs, disorientation, confusion, or momentary loss of awareness. Seizures may also cause loss of consciousness or convulsions that can lead to injury from falling down or striking nearby objects.

Immediately stop playing and consult a doctor if you experience any of these symptoms. Parents should watch for or ask their children about the above symptoms—children and teenagers are more likely than adults to experience these seizures. The risk of photosensitive epileptic seizures may be reduced by taking the following precautions: Sit farther from the screen; use a smaller screen; play in a well-lit room; and do not play when you are drowsy or fatigued. If you or any of your relatives have a history of seizures or epilepsy, consult a doctor before playing.

Precautions to take during use

  • Sit a good distance away from the monitor.
  • Avoid playing if you are tired or have not had much sleep.
  • Make sure that the room in which you are playing is well lit.
  • Rest for at least 10 to 15 minutes per hour while playing a video game.
ESRB: M PEGI: 18

RISE OF THE TOMB RAIDER © 2015–2018 Square Enix Ltd. All Rights Reserved. RISE OF THE TOMB RAIDER, TOMB RAIDER, CRYSTAL DYNAMICS, the CRYSTAL DYNAMICS logo, EIDOS, the EIDOS logo and LARA CROFT are registered trademarks or trademarks of Square Enix, Ltd. SQUARE ENIX and the SQUARE ENIX logo are registered trademarks or trademarks of Square Enix Holdings Co., Ltd. Portions of this software Copyright © 2015–2018 Jenkins Software, LLC. All rights reserved. Used under license. Uses Scaleform GFx © 2008–2018 Scaleform Corporation. Nixxes and the Nixxes logo are trademarks of Nixxes Software BV. Developed for and published on macOS by Feral Interactive, Ltd. macOS and the macOS logo are trademarks of Apple Inc., registered in the U.S. and other countries. Feral and the Feral logo are trademarks of Feral Interactive Ltd.

1

Introduction

Discover the legend within

In the breathtaking sequel to Tomb Raider, Lara Croft becomes more than a survivor as she embarks upon her first great expedition to explore the earth’s most ancient and remote regions and uncover the secret of immortality.

Harness Lara’s growing talents in a dramatic action-adventure ranging from Syria’s sun-baked ruins to Siberia’s frozen mountains. Play as the young archaeologist as she conquers tombs, outpaces rivals, and establishes her legend.

2

Installation

As part of the Steam download process, the game has already been installed on your computer. To start playing the game, read the Getting Started section.

Getting Started

  1. Double-click on the Steam application icon. By default this is located in the Applications folder on your computer's hard drive.

  2. If you are not already signed in, the Steam Login dialog will appear. Enter your account name and password, then select Login.

  3. The Steam application will launch. Select the Library tab.

  4. In the library, highlight Rise of the Tomb Raider in the list of games on the left-hand side of the window, then select Play.

  5. The Rise of the Tomb Raider: 20 Year Celebration pre-game Options window will appear. Click on the Play button. The game will launch.

  6. After the loading screens, the Main Menu will appear. Select New Game.

  7. The Combat Difficulty screen will appear. Select a difficulty. If this is your first time playing a Tomb Raider game, we recommend selecting Adventurer.

  8. After the opening video, you'll find Lara and Jonah ascending a snowy Siberian mountain. With a storm approaching fast, you'll need to move quickly to reach the summit...

3

Controls

You can play Rise of the Tomb Raider: 20 Year Celebration using either a keyboard and mouse or a gamepad.

The instructions in this manual refer to the default keyboard controls. If you have customized your controls or are using a gamepad, the controls listed here will not apply.

Keyboard

The default keyboard and mouse controls are detailed below. You can customize your keyboard configuration by selecting OptionsKeyboard & MouseKey Binding from the Main Menu.

Rise of the Tomb Raider requires you to right-click in order to perform certain commands. If you are using a Magic Mouse or a Trackpad, your secondary click may not be activated by default: see Can I play Rise of the the Tomb Raider using my Magic Mouse or Trackpad? in the FAQs for detailed instructions on how to enable secondary click.

Move W/A/S/D
Sprint shift (hold) and W/A/S/D
Jump Space
Dodge/drop C
Interact E
Attack F
Survival Instinct Q
Heal V(hold)
Map Tab
Pause Escape
Aim Right Mouse button (hold)
Primary fire Left Mouse button (while aiming)
Secondary fire Middle Mouse button (while aiming)
Reload R
Zoom Z
Shoulder swap Shift
Select bow 1
Select pistol 2
Select rifle 3
Select shotgun 4
4

Gamepad

You can play Rise of the Tomb Raider: 20 Year Celebration using a gamepad.

The diagram on this page is based on a standard controller layout; all gamepads have similar buttons but some may differ in layout from the gamepad shown here. For more information, see Can I play Rise of the Tomb Raider: 20 Year Celebration with a gamepad? in the FAQs. NOTE: Gamepad controls cannot be customized.

Gamepad control diagram

Move
Sprint (click, while moving)
Camera
Jump
Dodge/drop
Interact
Melee
Survival Instinct (click)
Pause Menu
Aim
Primary fire (while aiming)
Secondary fire (while aiming)
Zoom (click, while aiming)
Shoulder swap (click, while aiming)
Reload (while aiming)
Select weapon ← / ↑ / ↓ / →
Heal
5

Main Menu

Continue
Continue your most recently saved game.
Load game
Continue other previously saved games.
New game
Start a new game.
Expeditions
Replay earlier chapters of the story or test your skills in non-story missions.
Croft Manor
Explore Croft Manor, or play the Blood Ties and Lara's Nightmare DLC missions.
Leaderboards
Compare your achievements and trophies against other players.
Options
Adjust gameplay, audio, graphics and controls settings.
Marketplace
Buy extra abilities and outfits for Lara, or trade them with other players online.
Quit game
Exit the game and return to the desktop.
Credits
Watch the credits.
Start benchmark
Check the game’s performance at the current graphics settings.

Difficulty

When starting a new game, there are five combat difficulty levels to choose from:

  • Adventurer
  • Tomb Raider
  • Seasoned Raider
  • Survivor
  • Extreme Survivor

Each level increases combat difficulty by steadily taking away your advantages, such as aim assistance and the ability to regenerate health automatically. Higher difficulty levels will increase the health of enemies, increase the cost of equipment upgrades and remove autosaves outside of base camps.

Once you’ve started a game, you can change the combat difficulty by selecting Options → Gameplay from the in-game menu. You cannot select Survivor or Extreme Survivor this way; they can only be chosen when starting a new game. Changing the combat difficulty level does not affect the difficulty of the game’s environmental puzzles.

6

Movement

Use the W/A/S/D keys to move, and hold the Shift key while moving to sprint. You will automatically crouch behind cover and crawl under low surfaces when necessary.

You can jump by pressing the Space key. When jumping, you will automatically grab onto any scalable ledges that are in reach; press the E key to pull yourself up or climb further, or press the C key to stop climbing and drop to the ground.

Sometimes, a surface will be too weak to support you, or the impact of a longer jump will cause you to lose grip. When this happens, a hand icon will appear on-screen surrounded by a rapidly depleting meter. Press the E key before the meter runs out to recover and regain your grip.

You can use some flat, vertical surfaces to get to otherwise inaccessible areas. These surfaces are indicated by their worn appearance; scramble up them by jumping and pressing the Space key again when you’re in contact with the surface.

You can also use your axe to scale certain surfaces, such as icefalls. To do so, jump and press the E key to dig your axe into the surface, then use the W/A/S/D keys to scale it.

Survival Instinct

You can use Survival Instinct to find supplies, identify artefacts or determine the location of your next objective. Press the Q key to activate your Survival Instinct. This will cause the next objective to be illuminated. Other objects that can be used will also light up.

instinct

Enemy soldiers will light up in different colors depending on whether they can be seen by their comrades, allowing you to take out individuals without raising the alarm. They will glow red if they can be seen by another soldier. If not, they will glow yellow.

7

Combat

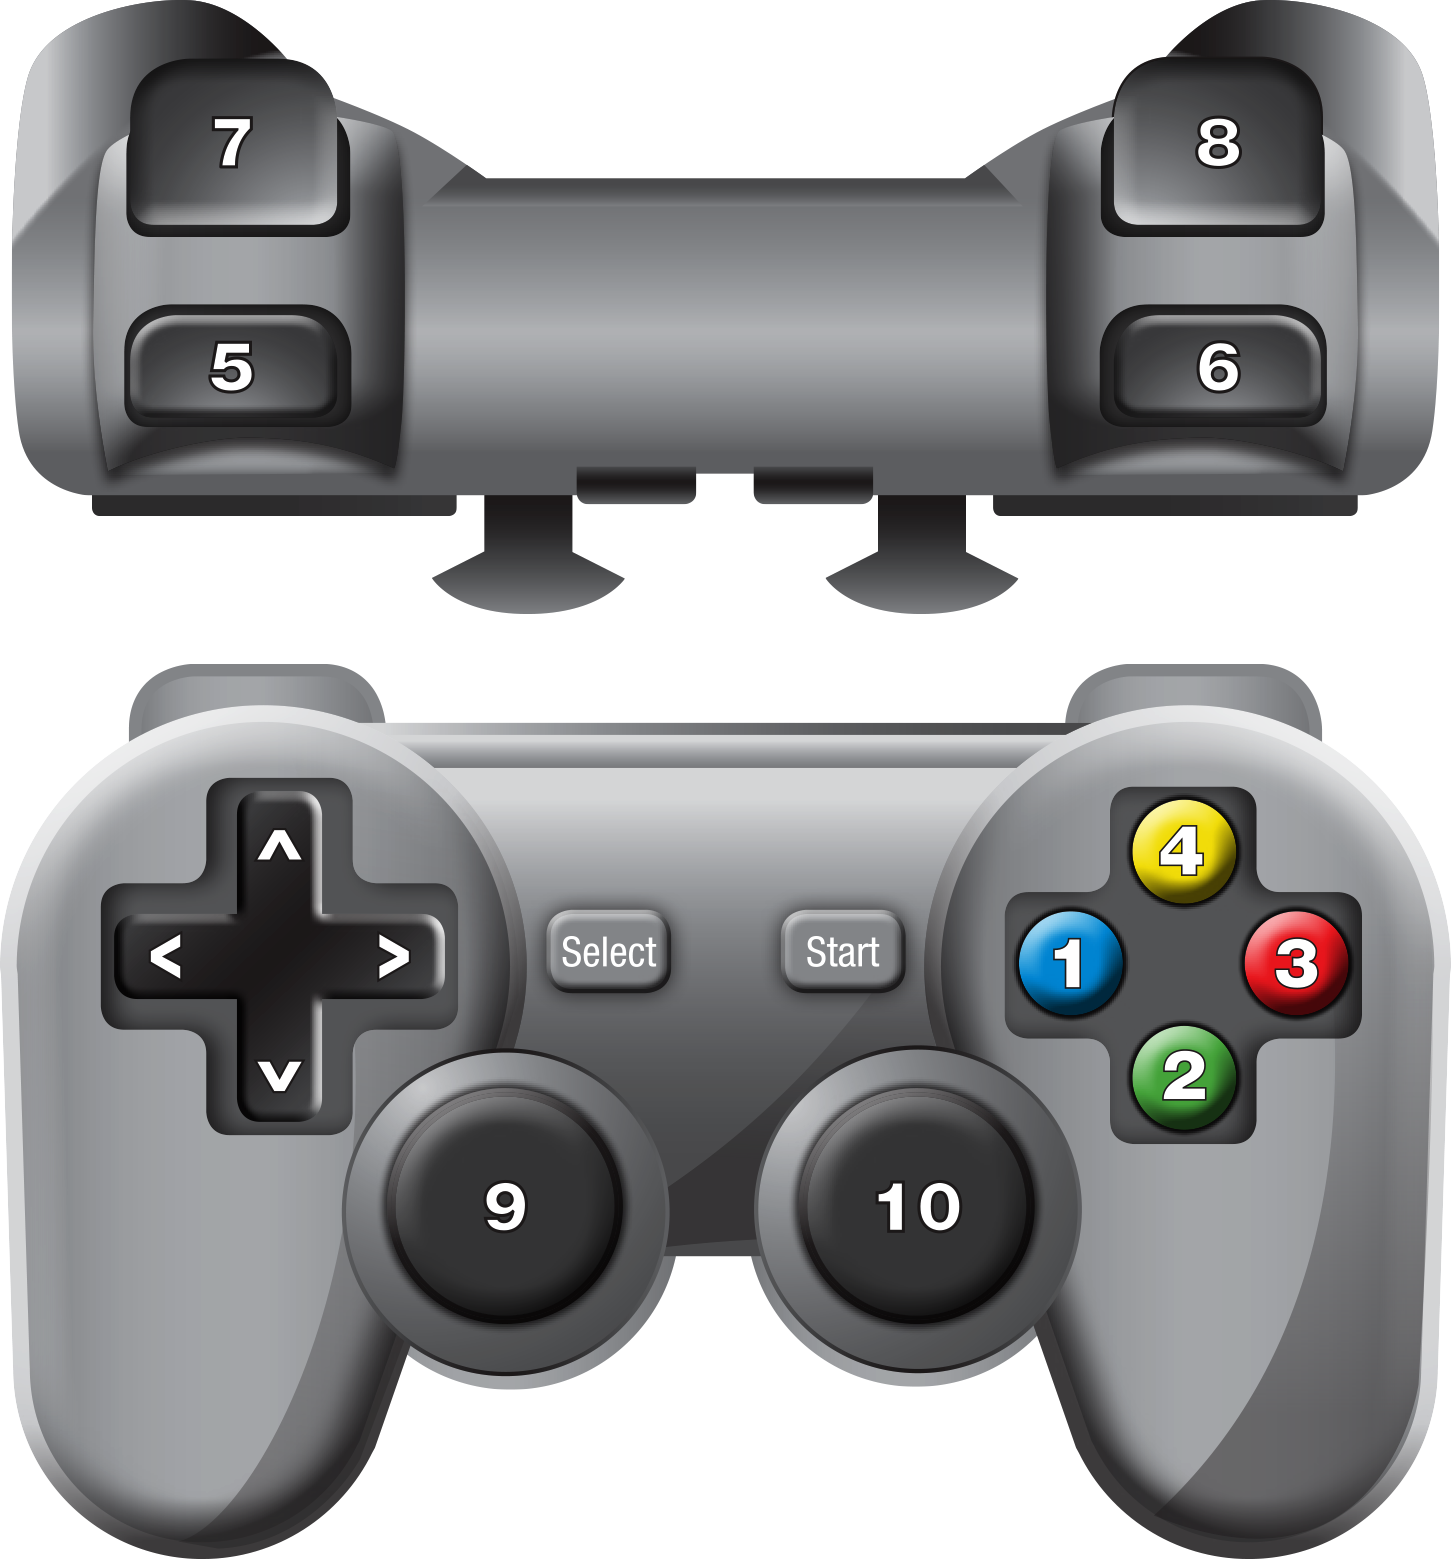
You can use a variety of weapons, melee combat or stealth to deal with enemy soldiers, dangerous wild animals and other hostiles that you encounter. Perform melee attacks by pressing the F key. With a gun equipped, hold the right-mouse button to aim, and press the left-mouse button to fire.

With a bow equipped, hold the right-mouse button to aim, and press the left-mouse button to fire a standard arrow. As you progress through the game you will learn how to craft different arrows for your bow, such as poison arrows. When available, fire alternate arrows by aiming with the right-mouse button and pressing the middle-mouse button.

You can also charge your shot for extra damage by holding down the left or middle-mouse button while aiming.

You can often choose to avoid enemies rather than fight them by staying in cover and keeping out of sight. Where indicated, press the C key to quickly dash from cover-to-cover.

As you gain experience, you will acquire new weapons and survival skills to defend yourself against opponents.

Weapons

You begin your quest with only a climbing axe for use as a crude weapon, but a variety of bows, pistols, rifles and shotguns can be acquired simply by progressing through the story. Others must be built by gathering enough salvage and weapon parts, then assembling them at a base camp.

You can find ammunition by looting the bodies of defeated enemies and, in some cases, by assembling them from salvage. For example, you can assemble arrows anywhere once you have scavenged enough salvage; when armed with the bow, hold the left-mouse button to assemble more arrows. Hold the middle-mouse button to craft alternate arrows, when available.

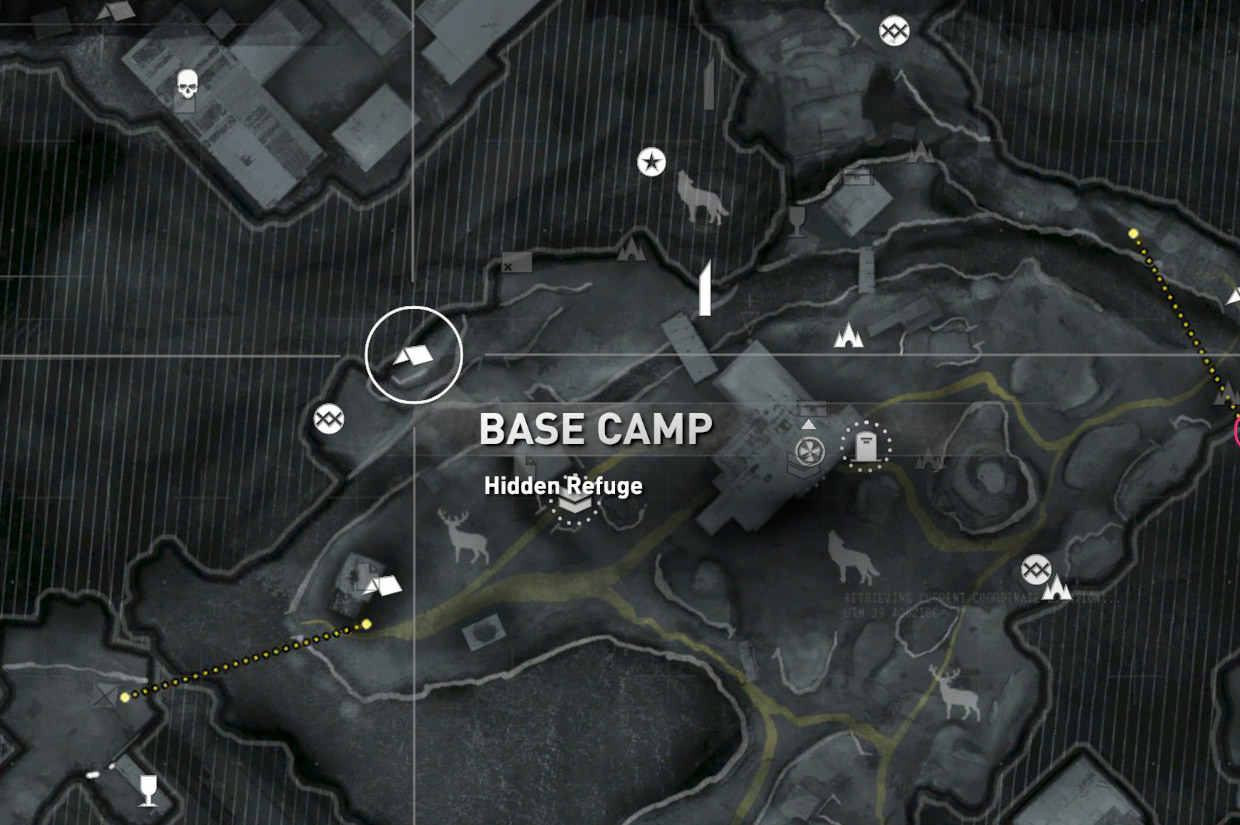
At the beginning of your quest, you can only carry a limited amount of ammunition. You can increase the amount you can carry by crafting a larger bag out of animal hides, or you can change your outfit for one with more carrying space. Both of these actions can be performed at a base camp.

8

Survival Skills

You can develop a variety of skills to help you survive harsh environments and deal with your opponents. You will earn experience points by progressing through the story and by engaging in tasks such as hunting and exploring tombs. Once you fill the on-screen experience points meter, you will earn skill points which can be spent on new skills.

There are three types of skills available: Brawler, Hunter and Survivor.

Brawler improve hand-to-hand combat and healing abilities.

Hunter improve your ability with weapons.

Survivor improve your awareness of the environment and your crafting abilities.

Learning basic skills will unlock more advanced ones that are not initially available.

Base Camps

Throughout your quest you will encounter base camps. They are marked on the in-game map with a tent icon.

At base camps, you can use skill points to purchase survival skills. Base camps are also the only place where you can use salvage and weapons parts to upgrade your weapons.

At base camps, you can instantaneously travel to other previously discovered camps. This allows you to quickly revisit previous locations to collect trophies and complete optional side-missions.

9

Map

You can press the the Tab key at any time to bring up the map screen. This shows your location and your next objective, which is indicated by a glowing diamond icon.

Other useful information about the area, such as base camps, buildings and collectible trophies, are also marked on the map. Some of this information will be missing at first, but you can fill in the map screen by exploring and discovering new areas, or by finding maps in enemy camps and outposts.

You can use the Toggle Local Waypoint button to landmark a particular point on the map. When using Survival Instinct, such landmarks will be indicated by a blue column of light.

The other tabs at the top of the map screen let you view any documents or relics that you have collected during your quest.

map

10

In-Game Menu

Pressing the Escape key will pause the game and show the in-game menu. The following options are available to you:

Resume
Return to the game in progress.
Reload checkpoint
Restart the game from your last saved checkpoint, losing any progress you have made since then.
Survival guide
View a list of the tactics and equipment at your disposal. This list grows as you learn new tactics and acquire new equipment.
Options
Adjust gameplay, audio, graphics and controls settings.
Save game
Save your progress. This is not available in Extreme Survivor level, where your progress can only be saved at base camps.
Exit to main menu
Quit the game.
11

Technical Support

Every effort has been made to make Rise of the Tomb Raider: 20 Year Celebration as compatible with current hardware as possible. However, if you are experiencing problems when running Rise of the Tomb Raider: 20 Year Celebration, please read on.

The latest version of the FAQs can be found by selecting the FAQs button in the Support tab of the Rise of the Tomb Raider: 20 Year Celebration pre-game Options window (this is the window that opens when you launch the game), or by going straight to the Feral website: http://support.feralinteractive.com

Contacting Feral

If the FAQs and/or updates do not solve your problem, then please feel free to contact us. The following information must be obtained before contacting Feral Technical Support:

  • The error message displayed when the problem occurred (if any).
  • A Rise of the Tomb Raider Report.txt file. This contains:
    • An Apple System Report of your Mac
    • Any crash logs that exist for Rise of the Tomb Raider: 20 Year Celebration
    • A list of the game's contents


All the information required can be obtained by opening Rise of the Tomb Raider: 20 Year Celebration and clicking on the Support tab in the Rise of the Tomb Raider: 20 Year Celebration pre-game Options window. In the Support tab, click on the Generate Report button. Once the report is generated it will appear as a file in your ~/Downloads folder (the “~” symbol refers to your home directory). Now click on the Create Email button. Remember to attach the Rise of the Tomb Raider Report.txt file to your email.

In your email, please include a brief description of the problem you have experienced with Rise of the Tomb Raider: 20 Year Celebration.

email: support@feralinteractive.com

12

Warranty

Please check the warranty information provided by Steam.

Credits

Originally developed by:
Crystal Dynamics
Originally published by:
Square Enix
macOS development by:
Feral Interactive
macOS publishing by:
Feral Interactive
13

Explore our website to read news and find our complete range of exciting games, or visit the web store to see our current deals and offers.