Mad Max - manual

Mad MaxManual

Enter
x

Navigating this manual

Welcome to the Mad Max web manual.

You can use the Contents menu on the left to skip directly to the section you're looking for. Alternatively, click the Enter button to access the manual, and use the Next and Previous buttons to navigate page by page.

Can't find what you're looking for? There's even more information in the FAQs and ReadMe: you can view them using the buttons at the top of the screen.

Warnings & Ratings

Important Health Warning About Playing Video Games

Photosensitive Seizures

A very small percentage of people may experience a seizure when exposed to certain visual images, including flashing lights or patterns that may appear in video games. Even people who have no history of seizures or epilepsy may have an undiagnosed condition that can cause these “photosensitive epileptic seizures” while watching video games.

These seizures may have a variety of symptoms, including lightheadedness, altered vision, eye or face twitching, jerking or shaking of arms or legs, disorientation, confusion, or momentary loss of awareness. Seizures may also cause loss of consciousness or convulsions that can lead to injury from falling down or striking nearby objects.

Immediately stop playing and consult a doctor if you experience any of these symptoms. Parents should watch for or ask their children about the above symptoms—children and teenagers are more likely than adults to experience these seizures. The risk of photosensitive epileptic seizures may be reduced by taking the following precautions: Sit farther from the screen; use a smaller screen; play in a well-lit room; and do not play when you are drowsy or fatigued. If you or any of your relatives have a history of seizures or epilepsy, consult a doctor before playing.

Precautions to take during use

  • Sit a good distance away from the monitor.
  • Avoid playing if you are tired or have not had much sleep.
  • Make sure that the room in which you are playing is well lit.
  • Rest for at least 10 to 15 minutes per hour while playing a video game.
ESRB: M PEGI: 18
MAD MAX software © 2015-2016 Warner Bros. Entertainment Inc. Originally developed by Avalanche Studios. Developed and published for Linux and Mac by Feral Interactive Ltd. Linux is the registered trademark of Linus Torvalds in the U.S. and other countries. Mac and the Mac logo are trademarks of Apple Inc., registered in the U.S. and other countries. Feral and the Feral logo are trademarks of Feral Interactive Ltd. All other trademarks and copyrights are the property of their respective owners. All rights reserved.
WBSHIELD
WB GAMES LOGO, WB SHIELD: ™ & © Warner Bros. Entertainment Inc.
(s16)

1

Introduction

Welcome to the Wasteland

In a world gone mad, only the maddest survive.

Hit the road in a post-apocalyptic wasteland where running out of gas is a death sentence.

Seize the role of legendary road warrior Max Rockatansky and navigate a barbaric open world to build, upgrade and drive the ultimate war machine: your Magnum Opus.

Only with the perfect combo of horsepower and firepower can you get the better of high-speed clashes with the savage War Boys and survive the fury of deranged and maniacal overlord Scabrous Scrotus.

The rules of the road are simple: kill or be killed.

2

Installation

As part of the Steam download process, the game has already been installed on your computer. To start playing the game, read the Getting Started section.

Getting Started

  1. Double-click on the Steam application icon. By default this is located in the Applications folder on your computer’s hard drive.

  2. If you are not already signed in, the Steam Login dialog will appear. Enter your account name and password, then select Login.

  3. The Steam application will launch. Select the Library tab.

  4. In the library, highlight Mad Max in the list of games on the left-hand side of the window, then select Play.

  5. The Mad Max pre-game Options window will appear. Click on the Play button. The game will launch.

  6. After the opening video, the Title screen will appear. Press any key or button to continue.

  7. The Main Menu will appear. Select New Game.

  8. A list of autosave slots will appear. Highlight a free slot, then press the Return (↩) key.

  9. A message will appear explaining that a new autosave will be created. Press the Return (↩) key.

  10. After the opening video, you’ll find Max in the Wasteland, left for dead by Scabrous Scrotus and his warboys…

3

Controls

You can play Mad Max using either a keyboard and mouse or a gamepad.

The instructions in this manual refer to the default keyboard controls. If you have customized your controls or are using a gamepad, the controls listed here will not apply.

Keyboard

The default keyboard controls are detailed below. You can customize your keyboard configuration by selecting SettingsKeymapping from the Main Menu.

Vehicles
Steer A/D
Accelerate W
Brake/reverse S
Handbrake Left Shift (⇧)
Exit vehicle R
Repair vehicle E
Ram Middle Mouse button
Quickfire Left Mouse button
Select left/right weapon Mouse Wheel up/down
Boost Space
Enter/exit sniper from car 1 (hold)
Select shotgun 2
Select harpoon 3
Select thunderpoon 4
Select sideburner 5
Look back C (hold)
Toggle FPS camera V
Location info X (hold)
Pause menu Escape (esc)

On Ground
Move W/A/S/D
Jump Left Control (ctrl)
Action E (hold)
Cancel action Q
Enter vehicle R (hold)
Select a different vehicle T
Attack Left Mouse button
Parry Right Mouse button or Left Alt
Sprint Left Shift (⇧)
Evade Space
Binoculars 1
Call Chum 2
Flashlight 3
Canteen 4
Refuel F
Quickfire Middle Mouse button
Aim Right Mouse button or Left Alt (hold)
Fire Left Mouse button
Reset camera C
Location info X (hold)
Pause menu Escape (esc)
4

Gamepad

You can play Mad Max using a dual analog stick gamepad. The diagram on this page is based on a standard controller layout; all gamepads have similar buttons but some may differ in layout from the gamepad shown here. For more information see Can I play Mad Max with a gamepad? in the FAQs.

On Ground
Move
Jump
Sprint
Aim (hold)
Fire weapon/throw (while aiming)
Attack/counter
Heavy strike (hold)
Parry
Evade
Special move
Interact/drop (hold)
Enter vehicle (hold)
Canteen
Flashlight
Binoculars
Flare
Location info (click and hold)
Move camera
Reset camera (click)
Map
Pause menu
Vehicles
Steer
Accelerate
Brake/reverse
Fire (in sniper mode)
Aim (hold)
Evade (in sniper mode)
Side ram attack
Grind attack (hold)
Boost
Fire weapon
Exit vehicle
Repair vehicle
Toggle weapon ←/→
Enter sniper ↓ (hold)
First person ↓ (tap twice)
Location info (click and hold)
Move camera
Look back (hold)
Map
Pause menu

gamepadimage

5

Game Screen

Game screen

1. Current objective
2. Minimap
3. Health
4. Canteen (remaining water)
5. Weapon/ammo
6. Shiv (highlighted when shiv is available)

Map

Map

The map shows key locations in the Wasteland that you’re aware of, including camps, scavenging locations and strongholds.

To access the map, press the Tab key.

Across the map, you’ll find vantage outposts where you can use a hot air balloon to view your surroundings from the air: any key locations that you spot while in the balloon will be marked on your map.

Fast Travel

You can fast travel between certain locations on the map, including strongholds, vantage outposts and Death Runs.

To fast travel, open the map, then press the R key. Locations to which you can fast travel will be highlighted. Click on a location to travel there.

6

Combat

Strike
To perform a strike, left-click. You can chain up to five strikes together. Chaining attacks increases the chance of dazing the enemy.

Heavy Strike
To perform a heavy strike, click and hold the Left Mouse button. Heavy strikes are more powerful than ordinary strikes, and can hit enemies who are blocking.

Heavy strikes also have a higher chance of being critical hits, which daze an enemy.

Hit an enemy with a heavy strike just before his attack hits you to perform a devastating Jaw Breaker.

Parry
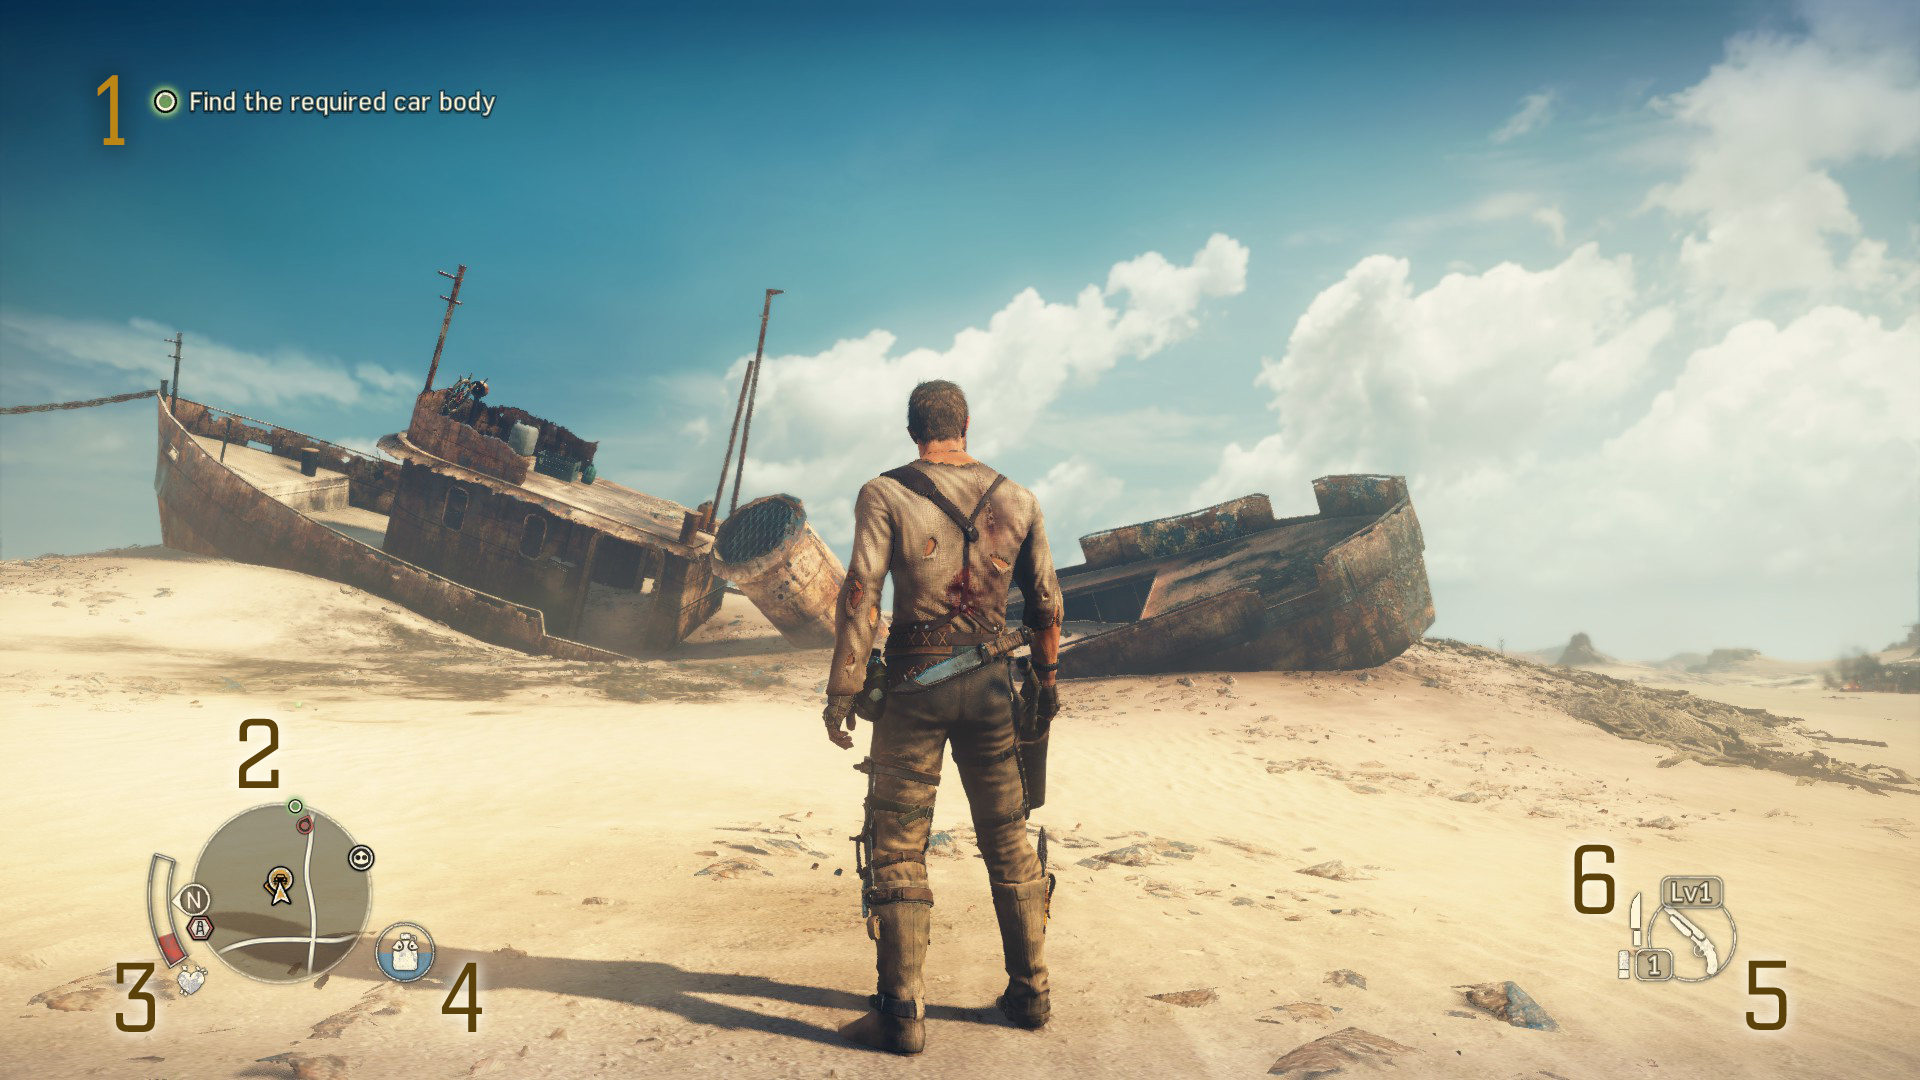
To parry an incoming attack, right-click when an enemy is about to strike. An icon above the head of an attacking enemy indicates when you should click.

Left-click immediately after parrying to perform a counter.

Parry just before an enemy’s attack hits you to perform a perfect parry. Countering after a perfect parry will result in a devastating perfect counter.

Evade
Some attacks are too powerful to be parried. To evade an attack that cannot be parried, press the Space bar to roll out of the way.

Wall Strike
Pin an enemy against a wall before striking them to perform a more powerful wall strike.

Shiv
Some enemies will drop shivs when defeated. You can pick up shivs and use them in combat. Each shiv can be used only once, but will instantly kill most enemies.

To use a shiv, strike an enemy until he is dazed, then press the E key when prompted to perform a shiv punisher.

Upgrades
Additional combat options will become available as you play the game and buy upgrades to your skills.

Fury mode

Fury meter

The Fury meter is displayed in the top-right corner of the screen as you strike enemies. It will fill a little with each strike, and when it is full, you will enter Fury mode.

While in Fury mode, your strikes are more powerful. Defeating enemies while in Fury mode will restore a small portion of your health.

You will remain in Fury mode for a limited time, or until all nearby enemies are defeated.
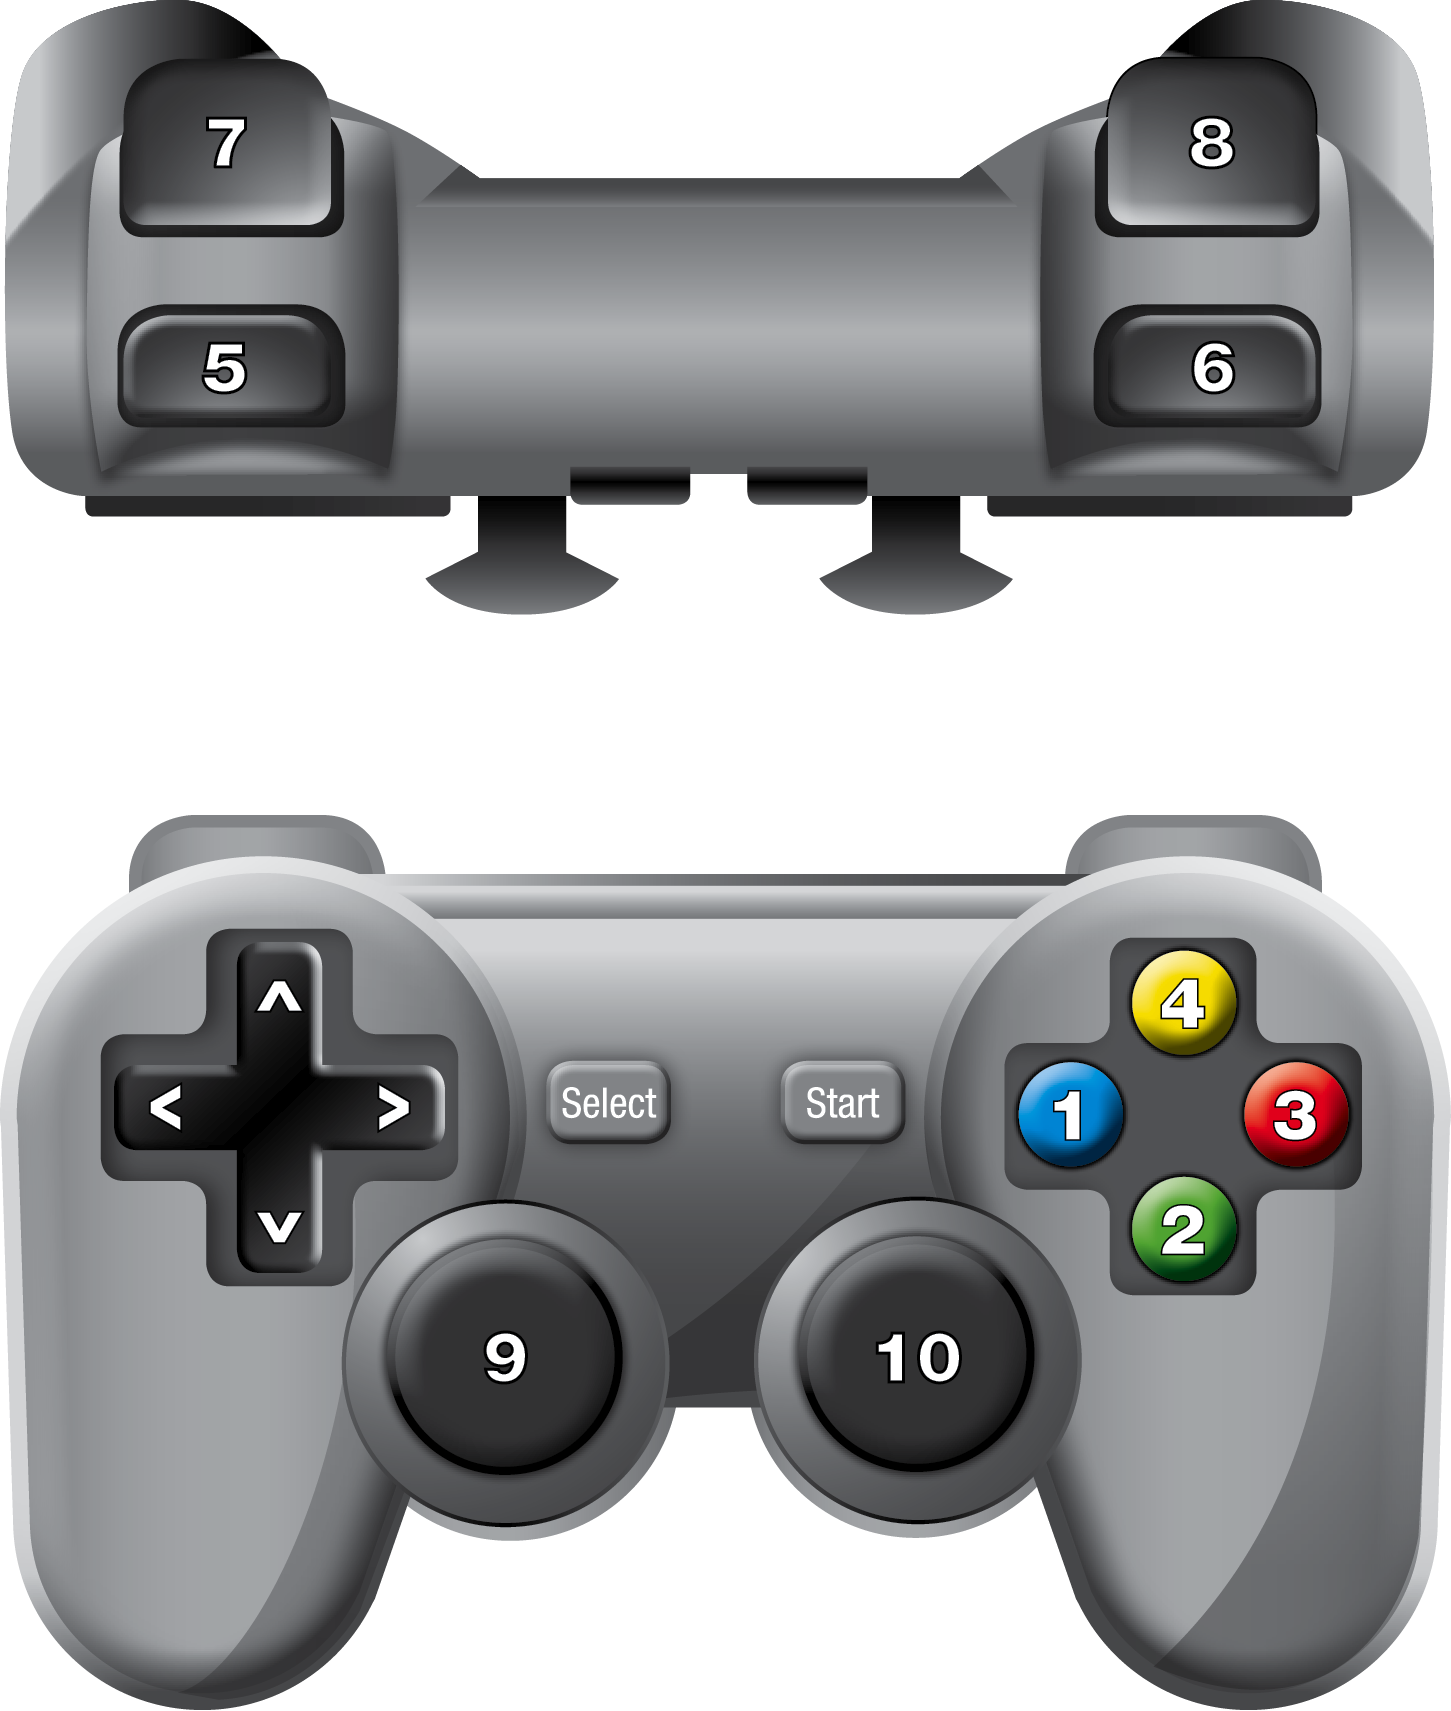
7

Magnum Opus

The Magnum Opus may not be much to look at when you first encounter it, but it’s your only hope of defeating enemy vehicles and surviving in the Wasteland.

Signal Chumbucket
While on foot, press the 2 key to signal Chumbucket, who will drive the Magnum Opus to your location.

Boost
Press the Space bar to use the nitro boost, which significantly increases the Magnum Opus’ speed for a few seconds.

Front Ram
Drive into another vehicle to ram it. The amount of damage you deal to the other vehicle depends on your speed.

Side Ram
When driving alongside another vehicle, press the Middle Mouse button and the Left or Right Arrow key to ram the vehicle from the side.

Shotgun
To equip the shotgun, press the 2 key. Hold down the Right Mouse button to aim and left-click to fire. Target weak points, such as fuel tanks, the tires or the driver.

Harpoon
To equip the harpoon, press the 3 key. Hold down the Right Mouse button to aim and left-click to fire. The harpoon can be used to pull tires, grilles and doors off vehicles, pull down gates and other structures, or impale enemies in vehicles or on the ground.

Repair
Chumbucket can repair the Magnum Opus when it is damaged, but only when it is stationary. To get Chumbucket to repair the Magnum Opus, stop moving, then press the E key.

You can repair the Magnum Opus instantly by standing in front of it and pressing the G key when prompted. Doing so costs scrap.

Upgrades
Buy upgrades for the Magnum Opus to increase its stats, add new weapons, and turn it into the ultimate combat vehicle. Additional combat options will become available as you play the game and buy upgrades.

8

Missions

You’ll receive missions as you play the game. Your current objective is shown in the top-left corner of the screen.

In addition to your main objectives, you can complete various optional missions across the map, including infiltrating camps, completing stronghold projects, and competing in Death Runs.

Camps

You’ll find camps of marauders dotted across the Wasteland.

If you successfully infiltrate a camp and complete its objectives, it will weaken Scrotus’ influence. The camp will also be populated by your allies, who will provide you with a regular delivery of scrap.

Camps have optional objectives in addition to their main objectives. To view the camp’s objectives, press and hold the X key.

Strongholds

As you play the game, you’ll encounter strongholds across the map. To defeat Scabrous Scrotus, you’ll need to ally yourself, at least temporarily, with the rulers of these strongholds.

Once you’ve begun working in a stronghold, you’ll be able to complete stronghold projects. These are represented by white outlined items found around the stronghold. Stand in front of one to see what is required to complete it.

Some projects require you to collect parts to complete them. Approach a project and hold the E key to add the location of the required parts to your map. To complete the project, collect the parts, then return to the stronghold.

Completing projects provides various benefits. For example, completing the Water Storage project in a stronghold means that your canteen will be refilled automatically each time you enter that stronghold.

Death Runs

Death Runs are wild races across the desert. Some are straightforward, while others have unusual rules…

When you win a Death Run, you’ll earn a reward: the car you used will be added to your collection. Win the race with an exceptional time, and you’ll also earn a Griffa token.

9

Upgrades

As you play the game, you’ll be able to upgrade both Max and the Magnum Opus.

There are three types of upgrade: Max, Garage and Legend.

Max

Max upgrades allow you to upgrade Max’s equipment, weapons, combat skills and appearance.

You can buy Max upgrades using scrap. To view the available upgrades, select the Max tab from the in-game Pause menu.

Garage

Garage upgrades allow you to upgrade the Magnum Opus, including upgrading its armor, adding new weapons and changing its appearance.

You can buy Garage upgrades using scrap. To view the available upgrades, select the Garage tab from the in-game Pause menu.

Some upgrades have downsides: for example, heavier armor will increase the Magnum Opus’ defense, but may reduce its ability to accelerate. To see how an upgrade will affect the Magnum Opus, hover over the upgrade’s icon: the Stats table on the right-hand side of the screen will show what effect the upgrade will have.

Legend

Legend upgrades allow you to upgrade Max’s abilities, including his maximum health, the amount of scrap he earns from looting, and the damage he deals when using a melee weapon.

You can buy Legend upgrades using Griffa tokens (see below). To view the available upgrades, select the Legend tab from the in-game Pause menu.

Griffa

Little is known about the wandering mystic known as Griffa, but he seems to have taken an interest in Max.

Griffa will unlock Legend upgrades, but only if you’ve earned Griffa tokens. Speak to Griffa to unlock new upgrades; you can find his location using the map.

Griffa Tokens
You’ll earn Griffa tokens by completing challenges. To view the available challenges, select the Legend tab from the in-game Pause menu, then select one of the categories under the Challenges heading.

10

Collectibles

Scrap

You’ll need scrap to buy upgrades for Max and the Magnum Opus. You can find scrap by visiting scavenging locations and camps, indicated on the map, and by destroying enemy vehicles.

Vehicles

To add vehicles to your collection, hijack them from your enemies, then drive them to one of your strongholds. You can also add vehicles to your collection by completing Death Runs.

To use a vehicle from your collection, stand next to the door of the Magnum Opus while in a stronghold. Press the T key when prompted to select a different vehicle.

Archangels

Archangels are special combinations of upgrades for the Magnum Opus that create a truly heavenly ride. Once you apply all the upgrades required for an Archangel, the Magnum Opus will receive a significant stat boost.

To view the available Archangels, select the Garage tab from the in-game Pause menu, then press the F key to enter the Archangels menu. From this menu, you can see the parts required to unlock the different Archangels.

History Relics

History relics are mementos from the past that give you a reminder of what life was like before the Wasteland became the savage badlands it is today. You’ll discover history relics as you explore the map.

Hood Ornaments

You can add a hood ornament to the Magnum Opus to customize its appearance and boost its stats.

To find hood ornaments, chase down and destroy convoys. You’ll find convoys following convoy routes, which are indicated by dashed red lines on the map.

To apply a hood ornament to the Magnum Opus, select GarageHood Ornament from the in-game Pause menu.

11

Bios

As you play Mad Max, you’ll discover information about everything you encounter in the Wasteland, including the people you meet, the locations you visit, and the tools and weapons at your disposal.

To read the information you’ve unlocked, select the Bios tab from the in-game Pause menu.

Capture Mode

Capture mode lets you capture still images and video directly from the game, and apply filters or other enhancements to create unique and stylized shots.

To enter capture mode, press the C and X keys together while playing the game.

You can take a screenshot at any point while playing by pressing Command (⌘) + Shift (⇧) + P.

To record video footage from the game, you’ll need to use video capture software on your computer. Use your preferred software to record, and use capture mode to set up the perfect camera angles. You can connect a second controller to your computer to allow a friend to control the camera while you play the game.

For more information and instructions on using capture mode, select Capture Mode from the in-game Pause menu.

12

Technical Support

Every effort has been made to make Mad Max as compatible with current hardware as possible. However, if you are experiencing problems when running Mad Max, please read on.

The latest version of the FAQs can be found by selecting the FAQs button in the Support tab of the Mad Max pre-game Options window (this is the window that opens when you launch the game), or by going straight to the Feral website: http://support.feralinteractive.com

Contacting Feral

If the FAQs and/or updates do not solve your problem, then please feel free to contact us. The following information must be obtained before contacting Feral Technical Support:

  • The error message displayed when the problem occurred (if any).
  • A Mad Max Report.txt file. This contains:
    • An Apple System Report of your Mac
    • Any crash logs that exist for Mad Max
    • A list of the game's contents


All the information required can be obtained by opening Mad Max and clicking on the Support tab in the Mad Max pre-game Options window. In the Support tab, click on the Generate Report button. Once the report is generated it will appear as a file in your ~/Downloads folder (the “~” symbol refers to your home directory). Now click on the Create Email button. Remember to attach the Mad Max Report.txt file to your email.

In your email, please include a brief description of the problem you have experienced with Mad Max.

email: support@feralinteractive.com

13

Warranty

Please check the warranty information provided by Steam.

Credits

Originally developed by:
Avalanche Studios
Originally published by:
Warner Bros. Interactive Entertainment
Developed for Mac by:
Feral Interactive
Distributed for Mac by:
Feral Interactive
14

Explore our website to read news and find our complete range of exciting games, or visit the web store to see our current deals and offers.